One of the jobs we had to do before our north Atlantic crossing was to inspect and replace the keel bolts. The aft keel bolt had shown a bit of corrosion that was worrying me crazy so I decide to remove it to check the condition while the boat was anchored in Fort de France .
The Decision to inspect the Keel bolts :
Taking the decision to remove the keel bolts while the boat is in the water is not for the faint hearts, a lot of questions pop up in your mind while you are planing the procedure , questions like , What if the seal between the hull and the keel breaks? what if the keel bolt brake? what if there is a leak? what if…. you name it!
The truth is that the keel bolt is not gonna brake, so use a wrench and a pipe or a hammer and be gentle, not too gentle but take care with patience and even the more persisted keel bolt will come off. As for braking, if the keel bolt was that weak to brake consider yourself lucky that it broke there and not in the ocean.
But what if it starts leaking ?
Well, there is only one way to predict that .. when you take the boat out of the water take a look at the keel – hull joint, if you see rust stains it means that water comes through and there is high possibility that you will have a leak, so if it leaks replace the keel bolt and put back or schedule a haul out and plan to reseal the keel joint .
So how we did it?
Taking the decision to do it was actually harder than actually performing the task of inspecting the keel bolts.
After getting the right tools:
- Pipe for leverage (we didn’t actually use it )
- Normal Wrench
- Hammer
- Torque wrench
- Torque manual from Beneteau boat builder
Anxious and excited we started with the most aft keel bolt which was on the worst state as well, place 4 hands and pulling hard!!!
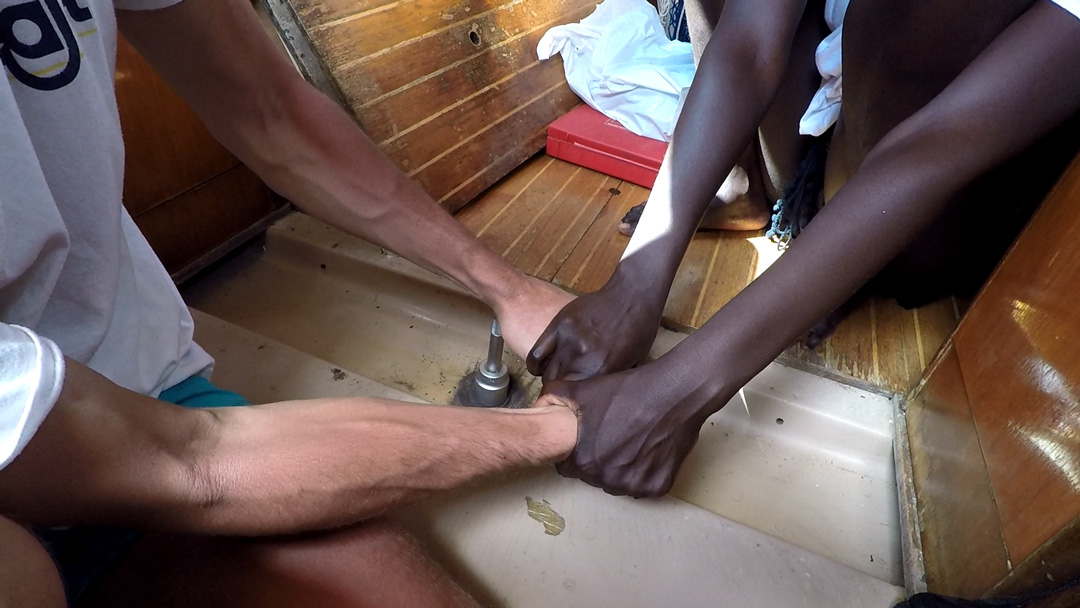
Inspecting the Keel Bolt:
We where very lucky the keel bolt came lose very easily, and it was looking GREAT! no rust in the body.
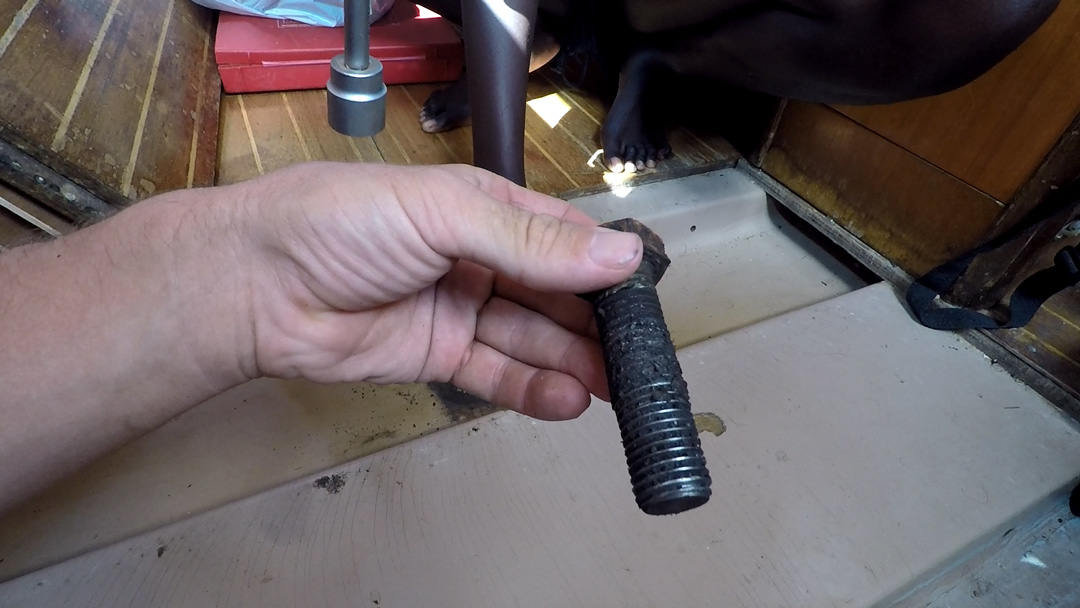
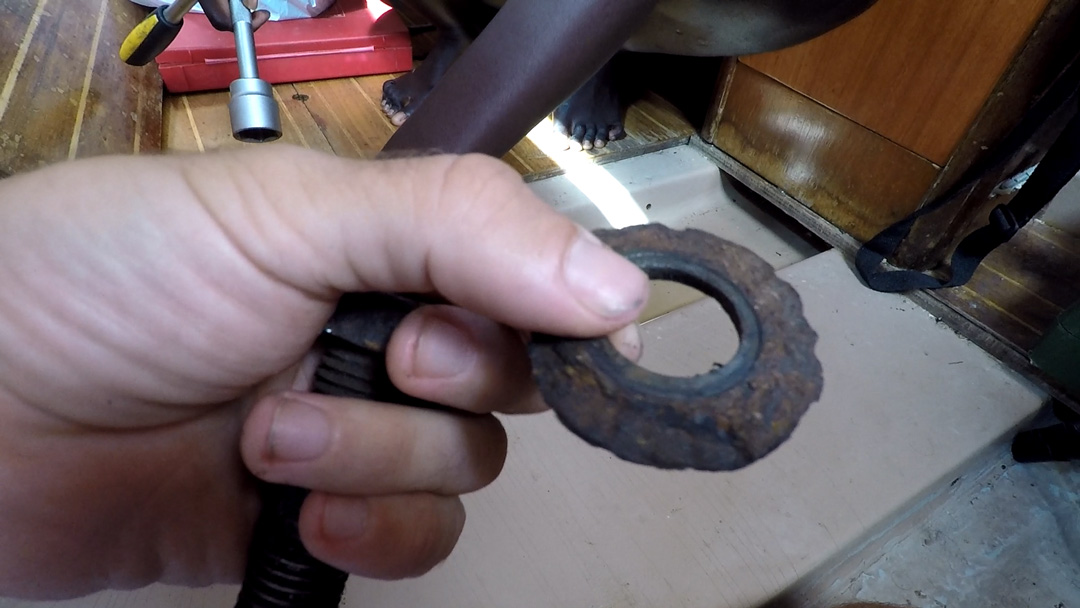
Inspecting the Washer
well the photo of the washer speaks for itself, it was definitely time to replace it :
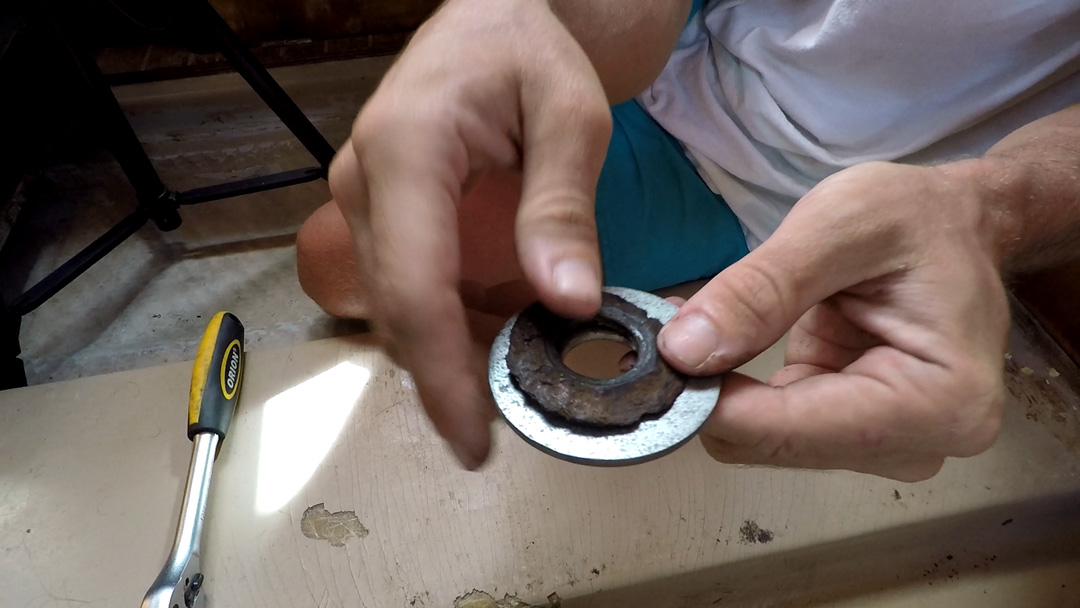
Here i am comparing the old washer to the new shiny one, we are not using Stainless Steel washer or keel bolt as directed from the shipyard.
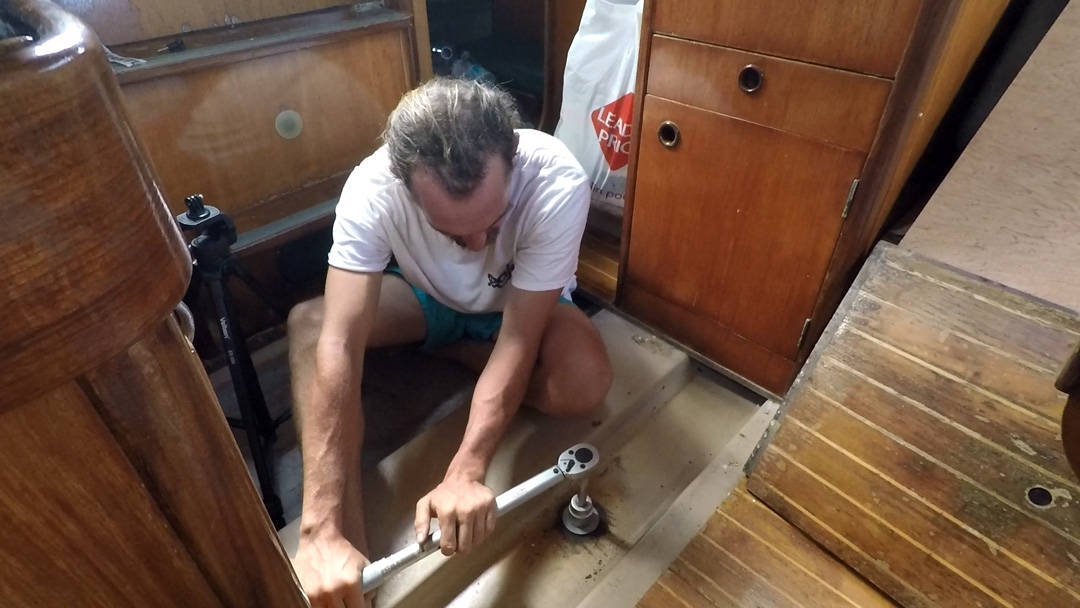
Re-Torquing the keel bolt
Getting the right torque is not an easy task, and on a bigger boat you definitely need a second hand and a pipe for leverage.
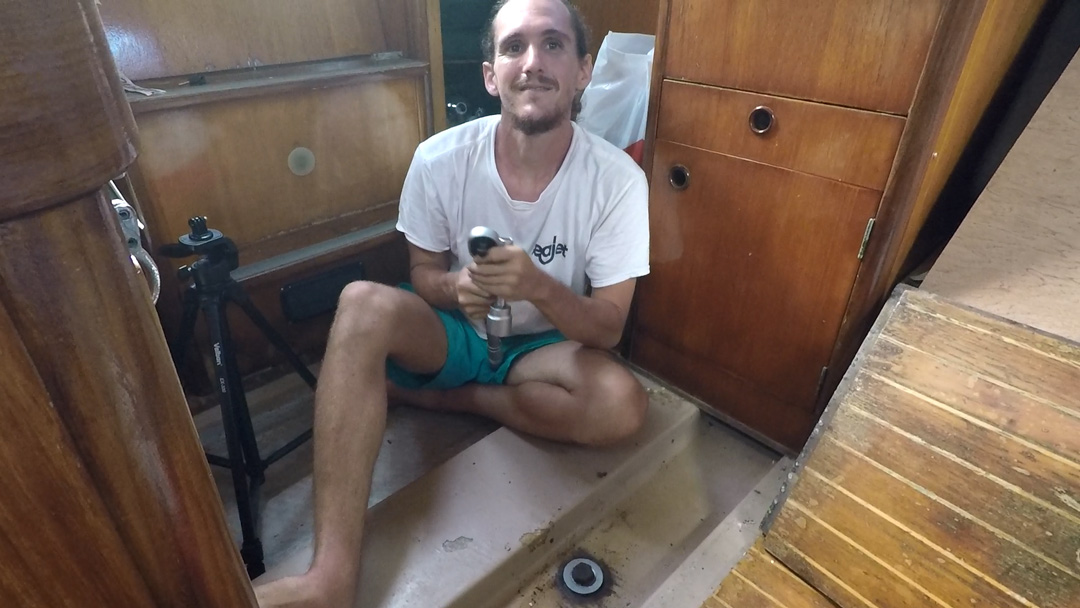
Happy captain !!!
Well I was really stressed about this keel bolt, I had the impression that it was slightly leaking and the washer was looking so bad… but in the end only the washer was bad . Happy captain!
We did replace the washer of the forward keel bolt as well, and check the torque for the rest.
Conclusion
Do not be afraid to remove and inspect your keel bolts regularly or before big passages, they are an essential part of the structure of the boat and your safety!
Is there any way to support the project?
Yes, you can offer knowledge or tips through the comment sections or if you are willing you can help us purchase materials by becoming a patron!


